
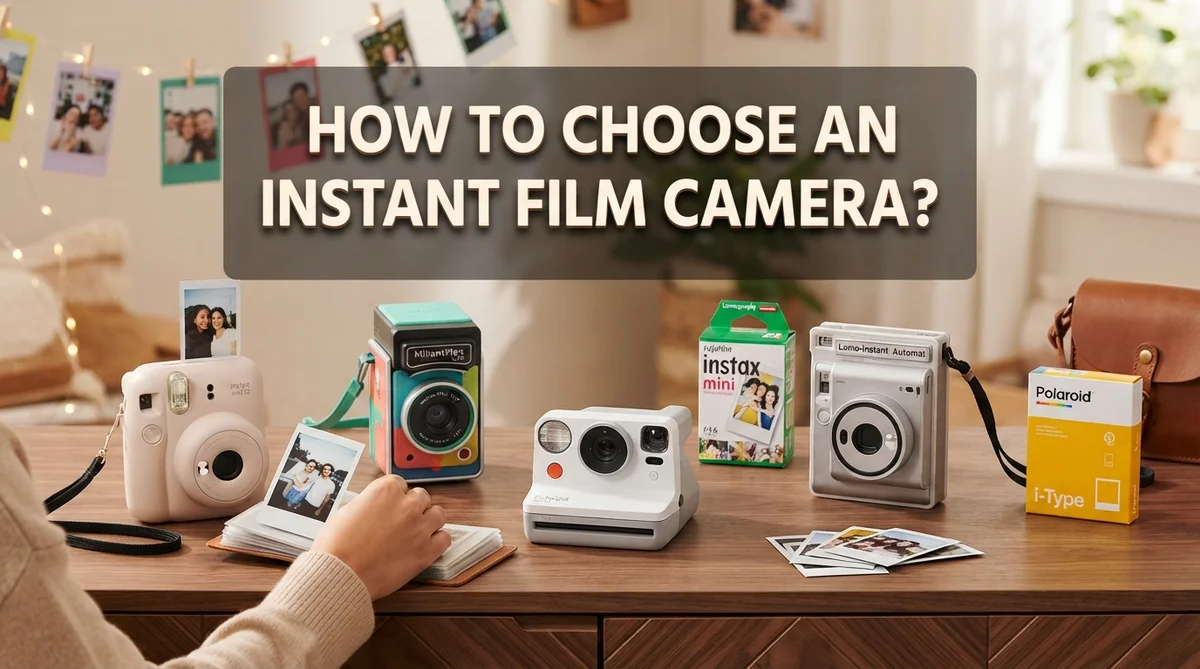
How to Choose an Instant Film Camera?
Instant film cameras bring a special kind of magic. You press a button, and a photo appears in your hands within minutes. No screens, no waiting for downloads, just pure creative fun.
But picking the right camera can feel tricky. There are so many brands, sizes, and features to think about. Instax and Polaroid both offer great options, but they work differently.
This guide will help you understand what actually matters when choosing your camera. We will look at print size preferences, since some photos are small and pocket sized while others are wider and more detailed.
Budget plays a big role too. Your wallet often decides which model fits best.
We will also cover popular models people love in 2025, along with their strengths and weaknesses. Plus, we will share simple tips to avoid common beginner mistakes.
Underexposure is one error that ruins many first shots. Knowing how to handle developed prints properly matters just as much.
By the end, you will feel confident picking an instant camera that truly matches your style and needs.
In a Nutshell
Choosing the right instant film camera comes down to a few key factors. Here’s a quick recap to help you decide fast.
-
Pick your brand first. Instax and Polaroid each offer a different look and feel. Your choice affects print style, size, and overall experience.
-
Think about print size. Smaller prints suit casual fun, while larger formats work better for detailed shots. Decide what matters most to you.
-
Set a budget range. Prices vary based on features and print quality. Knowing your budget narrows your options quickly.
-
Avoid underexposure. This is the most common mistake beginners make. It leads to grainy, muddy photos that lose detail.
-
Handle film with care. Never press on the film pack or a photo while it develops. Gentle handling keeps your prints crisp and clear.
-
Slight overexposure is safer. If you’re unsure, lean toward brighter shots. It’s easier to fix than a dark, underexposed image.
Keep these points in mind, and you’ll pick a camera that truly fits your style and needs.
Understanding Instant Film Cameras and How They Work
Instant film cameras work by capturing light through a lens and projecting it onto special film. The film contains chemicals that react immediately when exposed to light. This chemical reaction creates your photo right before your eyes, usually within minutes.
The process starts when you press the shutter button. Light enters the camera and hits the film’s surface. Unlike digital cameras that store images electronically, instant cameras use a physical chemical process. The film itself is the storage device and the final product all in one.
Understanding film layers helps explain why handling matters so much. Each film pack contains multiple chemical layers stacked together. These layers work together to produce color, contrast, and detail in your image. When you eject the film, rollers inside the camera spread developing chemicals across the film evenly. This spreading process is crucial for proper image development.
The developing time varies based on temperature and film type. Most instant photos fully develop within 15 to 30 minutes. During this time, the chemical reaction continues creating the visible image. This is why you should never bend, fold, or apply pressure to the photo while it develops.
Different instant cameras use different film formats. Some produce small square prints. Others create wider rectangular images. The film format you choose affects both the final look and your shooting experience. Wider formats show more detail but use more film per shot. Smaller formats are more portable and economical.
Light sensitivity also matters in instant photography. The film’s sensitivity determines how much light it needs for proper exposure. Most instant films work well in daylight but struggle in dim indoor lighting. Understanding your camera’s light requirements helps you take better photos from your very first shot.
Instax vs Polaroid: Key Differences That Matter
Instax and Polaroid are the two main brands in instant photography, and they work quite differently. Understanding these differences helps you pick the right camera for your needs.
Print size is the biggest difference between these brands. Instax cameras produce smaller prints, typically around 2.4 by 3.6 inches. Polaroid cameras create larger prints, usually 3.5 by 4.25 inches. Smaller prints feel more casual and fun. Larger prints show more detail and work better for displaying or sharing.
Film costs matter too. Instax film generally costs less per shot than Polaroid film. If you shoot frequently, this adds up quickly. Polaroid film is pricier but delivers richer colors and better contrast in many cases.
The color rendering differs significantly between brands. Instax tends to produce bright, saturated colors with a modern feel. Polaroid creates warmer tones with a classic vintage look. Your preference here depends on the mood you want in your photos.
Image quality varies as well. Polaroid cameras often capture more detail and sharper focus. Instax cameras prioritize fun and simplicity over technical perfection. Both approaches have merit depending on what matters to you.
Camera designs differ too. Instax offers compact, lightweight options perfect for travel. Polaroid models tend to be bulkier but include more manual controls. If you want to adjust exposure and focus, Polaroid gives you more options.
Battery life is another practical consideration. Instax cameras typically last longer on batteries. Polaroid cameras drain batteries faster, especially when using flash frequently.
Availability of film varies by region. Instax film is easier to find in most stores. Polaroid film requires more searching in some areas.
Neither brand is objectively better. Your choice depends on print size preference, budget, desired colors, and how much control you want. Think about what matters most to your instant photography style.
Print Sizes and Formats Explained
Instant film cameras come in several distinct print sizes, and understanding these formats is essential to making the right choice.
The most common format is the small square print, which measures about 2.4 by 2.4 inches. This size works well for casual snapshots and fits easily in wallets or small frames. The prints develop quickly and feel fun and portable.
A slightly larger square format exists at roughly 3.4 by 3.4 inches. This gives you more space to capture details while still maintaining that classic instant look. Many people prefer this middle ground because it balances portability with image clarity.
The wide format is another popular option. These prints measure approximately 2.7 by 4.2 inches in a landscape orientation. Wide prints suit panoramic scenes, group photos, and landscape shots. The extra horizontal space makes details more visible.
Some instant cameras produce even larger prints at around 3.5 by 4.2 inches. These bigger formats let you see facial expressions and fine details much more clearly. They work best for portraits and special moments you want to display prominently.
Print size directly affects how much you can see in your photos. Smaller prints work great for casual use and albums. Larger prints reveal more texture and expression, making them ideal for wall displays or meaningful keepsakes.
Consider where you plan to use your photos. If you want to share prints at parties or keep them in a pocket album, smaller sizes make sense. If you prefer displaying photos on shelves or giving them as gifts, larger formats have more impact.
The format you choose also influences film cost. Larger prints typically require more film material, so factor this into your budget. Think about your lifestyle and how you actually use instant photos. This practical consideration helps you pick the size that fits your real needs.
Features and Functionality to Evaluate
When you’re evaluating an instant film camera, focus on the features that match your actual shooting style. Lens quality directly affects how sharp your photos appear. Better lenses capture more detail, especially important if you plan to print larger images.
Flash capabilities matter more than you might think. Some cameras have adjustable flash settings, while others use automatic flash. If you shoot indoors frequently, look for cameras with manual flash control. This prevents overexposed or underexposed shots, which is the biggest beginner mistake.
Check the exposure compensation feature. This lets you brighten or darken images before taking them. Slight overexposure actually works better than underexposure with instant film, so having this control is valuable.
Autofocus systems vary significantly between models. Some cameras focus automatically, while others require manual focus adjustment. Automatic focus works well for casual shooting, but manual focus gives you more creative control.
Battery life deserves attention too. Some cameras last for hundreds of shots per charge, while others need frequent recharging. Consider how often you plan to shoot and whether you’ll have access to charging.
Viewfinder quality affects your framing accuracy. Optical viewfinders show you what the lens sees, while digital viewfinders display a preview. Digital options help prevent mistakes, but optical viewfinders feel more natural to many photographers.
Look at the self timer and remote capabilities. These features help you include yourself in photos without asking others to take pictures.
Temperature handling matters if you shoot outdoors in cold weather. Some instant film performs poorly below certain temperatures, so check specifications if you plan winter photography.
Finally, consider whether the camera has a tripod mount. This small feature enables creative shots and group photos without needing someone to hold the camera.
Step-by-Step: How to Narrow Down Your Choice
Start by listing your non-negotiable requirements. Ask yourself what matters most: budget, print size, brand preference, or specific features. Write these down so you stay focused.
Next, determine your budget range. Instant cameras vary widely in price. Your budget will eliminate many options immediately and help you focus on realistic choices.
Consider your shooting environment. Do you shoot mostly indoors or outdoors? Will you use the camera in cold weather? Do you need a camera that performs well in low light? Your typical shooting conditions should guide your selection.
Think about film availability in your area. Some regions have better access to certain brands. Check local stores or online availability before committing to a brand. Running out of film defeats the purpose of owning an instant camera.
Evaluate your lifestyle and how you’ll use photos. Do you want prints for scrapbooks, parties, or decoration? Will you share images on social media? Your intended use affects which features matter most.
Compare the specific models within your budget range. Create a simple chart listing key features like print size, flash type, and autofocus options. This visual comparison helps you spot differences quickly.
Read real user experiences and reviews. Look for common issues people mention. Pay attention to complaints about underexposure or film handling problems, as these reflect actual user experiences.
Visit a store if possible to hold cameras in your hands. Feel the weight and button placement. Test the viewfinder quality. Physical handling often reveals comfort factors that specs alone won’t show.
Narrow your choices to two or three finalists. Compare them side by side based on your priority list. The best camera for you matches your specific needs, not someone else’s preferences.
Common Mistakes Beginners Make With Instant Cameras
Beginners often make mistakes that ruin their instant camera experience. The most common error is underexposure. This happens when your camera doesn’t capture enough light. Your photos turn out muddy, grainy, and disappointing.
Underexposed images look dark and lack detail. The problem gets worse in indoor settings or cloudy weather. Many new users don’t realize their camera needs more light than they think. They take shots and feel let down by the results.
The solution is simple: slightly overexpose instead. Most instant cameras perform better with extra light than with too little. If your camera has an exposure compensation button, use it. Aim for brightness rather than darkness.
Another major mistake involves film handling. Never press or squeeze the film pack while it’s developing. Pressure causes uneven color distribution and dark spots. Your beautiful photo becomes streaky and ruined. Wait the full development time before touching it.
Bending or folding developed photos is another rookie error. The instant film is delicate during those first minutes. Even gentle bending can crack the chemicals inside. This creates permanent damage you cannot fix.
Neglecting proper storage also causes problems. Keep your film in cool, dry places. Heat and humidity damage the chemicals before you even use the camera. Check expiration dates on film boxes. Old film produces faded or discolored prints.
Many beginners also don’t read their camera manual. Each model has different buttons and settings. Taking time to learn your specific camera prevents frustration. Practice with a few test shots before important events.
Finally, some users expect instant cameras to work like smartphones. These cameras have limitations. They capture moments differently. Accept their unique style, and you’ll enjoy them much more. Understanding these common mistakes helps you get better results from day one.
Tips for Getting Better Results From Any Instant Camera
Getting better results from your instant camera comes down to understanding a few key principles. Exposure is your biggest lever for quality photos. Slight overexposure beats underexposure every single time. Underexposed images look dark, muddy, and grainy. They lose all the detail you wanted to capture. If your camera has an exposure compensation feature, use it. Push it slightly toward the brighter side, especially indoors or on cloudy days.
Film handling matters more than most people realize. Never apply pressure to your film pack while it’s developing. Don’t bend, fold, or squeeze developed photos. Your hands can damage the chemical layer that’s still setting. Wait at least 15 minutes before handling your finished prints. Store your film in cool, dry places before use. Heat and humidity degrade film quality significantly.
Lighting conditions affect your results dramatically. Instant cameras perform best in bright, natural light. If you’re shooting indoors, get as close to windows as possible. Flash helps, but it can create harsh shadows. Try positioning your subject at an angle to the light source instead. This creates more interesting, flattering photos.
Framing and composition make a real difference. Take time to frame your shot properly. Most instant cameras have viewfinders, but they’re not always perfectly accurate. Aim for slightly wider framing than you think you need. This prevents cutting off important parts of your image.
Clean your camera lens regularly. Dust and fingerprints reduce image clarity. Use a soft, dry cloth to wipe the lens before shooting sessions.
Read your specific camera’s manual thoroughly. Different models have different optimal techniques. Understanding your camera’s unique features helps you maximize its potential. Practice shooting in various conditions. You’ll quickly learn what works best for your particular camera and shooting style.
Final Thoughts
Choosing the right instant film camera comes down to knowing your own needs. Print size, budget, and brand loyalty all play a role in this decision.
Think about how you plan to use your photos. Some people want small prints for scrapbooks. Others prefer larger prints for wall displays or gifts.
Your budget matters just as much as features. A camera with more automatic functions often costs more upfront. But it may save you money on wasted film in the long run.
Instax and Polaroid both offer solid choices for different needs. Instax tends to have more compact options with variety in print sizes. Polaroid focuses on a classic look with square prints.
Don’t rush this decision. Take time to compare a few models side by side. Check reviews from real users who share honest experiences.
Handling your film properly is just as important as picking the right camera. Even the best camera will disappoint you if you underexpose your shots or damage your prints.
Remember that slight overexposure beats underexposure every time. This simple rule alone can save you from many blurry or muddy photos.
Treat your developed prints with care. Avoid bending them or putting pressure on the film pack. These small habits protect your memories for years to come.
Instant photography rewards patience and attention to detail. The camera you choose is only part of the equation.
Your technique and care while shooting and handling film often matter more than the model you buy. Start with a camera that fits your budget and needs. Then focus on building good habits.
With the right camera and the right approach, you’ll capture memories that last. Every photo tells a story, and instant film makes that story tangible the moment it happens.
Frequently Asked Questions
What is the main difference between Instax and Polaroid cameras?
Instax and Polaroid serve the same purpose but with different approaches. Instax cameras produce smaller prints that fit nicely in pockets or albums. Polaroid cameras create larger prints with a classic white border. Your choice depends on how you want to display and share your photos.
Both brands offer reliable instant photography. Instax models tend to have more variety in sizes and features. Polaroid focuses on larger format prints with a vintage aesthetic. Consider which print size appeals to you before deciding.
How do I know which print size is right for me?
Print size affects how you use your photos. Smaller prints work great for scrapbooking, trading with friends, or keeping in wallets. Larger prints make better wall displays and gifts. Think about your lifestyle and storage preferences.
Size also impacts film costs since larger prints require more film per shot. Smaller format cameras let you shoot more photos with one film pack. Decide whether you prioritize quantity or impact when displaying your images.
What budget range should I consider?
Your budget determines which models you can access. Entry level cameras offer basic features at lower costs. Mid range options add manual controls and better build quality. Premium models include advanced features like autofocus and connectivity.
Set a realistic budget before shopping. Remember that ongoing film costs matter as much as the camera price itself. Calculate how many photos you plan to take monthly to understand total expenses.
Should I choose manual or automatic exposure?
Automatic exposure works well for beginners since the camera adjusts settings for you. Manual exposure gives experienced photographers more control over brightness and mood. Most modern cameras blend both options effectively.
Slight overexposure produces better results than underexposure regardless of which mode you use. Start with automatic if you’re new to instant photography. You can always upgrade to manual controls later as your skills improve.

DK is a tech enthusiast and product reviewer dedicated to helping readers explore the ever-evolving world of technology. With a passion for testing gadgets, apps, and appliances, DK delivers honest, in-depth reviews and practical buying guides to make your tech decisions easier.


